Form Honeypot Fields: Implementation Guide and Best Practices
Learn how to implement honeypot fields correctly with CSS hiding, JavaScript timing, and accessibility considerations. Complete React/Next.js code examples included.
Your contact form gets 50 submissions a day. 47 of them are selling you SEO services you didn’t ask for.
Sound familiar?
Before you slap a CAPTCHA on there and call it a day, there’s a simpler approach that’s been around forever: honeypot fields. They’re invisible to humans, irresistible to bots, and require zero user interaction.
This guide covers everything you need to implement honeypots correctly. We’ll walk through different hiding techniques, accessibility pitfalls you need to avoid, and complete React/Next.js code you can copy-paste into your project. We’ll also talk about why honeypots alone won’t save you from modern spam - because they won’t.
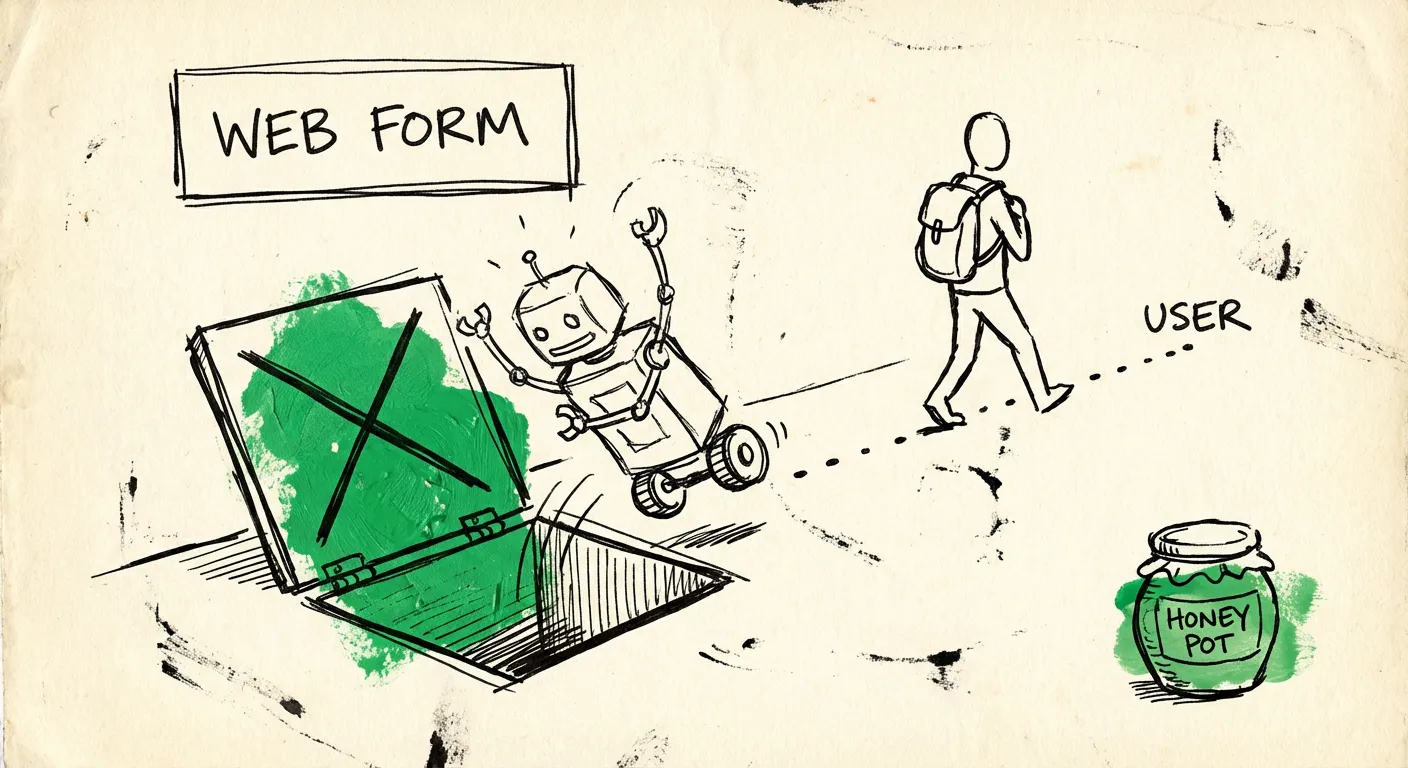
What Is a Honeypot Field?
A honeypot is a hidden form field that legitimate users never see or interact with. But bots? They see every field in your HTML and fill them all out. When your server receives a submission with data in the honeypot field, you know it came from a bot.
The concept is dead simple:
- Add an extra field to your form
- Hide it from human users
- If it contains data on submission, reject it
No API keys. No third-party services. No user friction. It’s the lowest-effort spam prevention technique that actually works.
Here’s what a basic honeypot looks like:
<form action="/submit" method="POST">
  <label for="email">Email</label>
  <input type="email" id="email" name="email" required />

  <label for="message">Message</label>
  <textarea id="message" name="message" required></textarea>

  <!-- Honeypot field - hidden from humans -->
  <div style="display: none;">
    <label for="website">Website</label>
    <input type="text" id="website" name="website" tabindex="-1" autocomplete="off" />
  </div>

  <button type="submit">Send</button>
</form>
On the server, you check if website has any value. If it does, you silently discard the submission (or return a fake success message so the bot doesn’t know it was caught).
Different Hiding Techniques
Not all hiding methods are created equal. Some are trivially bypassed by modern bots. Others create accessibility problems. Let’s break down your options.
CSS Display None
The most straightforward approach:
.honeypot {
  display: none;
}<div class="honeypot">
<input type="text" name="phone" />
</div>Pros: Simple, screen readers skip it entirely, keyboard users can’t tab to it.
Cons: Sophisticated bots parse CSS and skip fields with display: none. Some bots specifically look for this pattern.
Off-Screen Positioning
Move the field way off the visible page:
.honeypot {
  position: absolute;
  left: -9999px;
  top: -9999px;
}
Pros: Harder for basic bots to detect than display: none.
Cons: Screen readers might still announce it. Users with modified CSS or browser extensions might see it.
Zero Dimensions
Make the field invisible by removing its size:
.honeypot {
  width: 0;
  height: 0;
  padding: 0;
  border: 0;
  overflow: hidden;
}
Pros: Visually hidden but technically still in the DOM.
Cons: Some screen readers still read it. Bots that analyze computed styles can detect this.
Opacity and Visibility
.honeypot {
  opacity: 0;
  visibility: hidden;
  pointer-events: none;
}
Pros: Multiple properties make it harder to detect with simple checks.
Cons: visibility: hidden is easily detected. Same problem as display: none.
The Combined Approach
The most robust CSS hiding combines multiple techniques:
.honeypot-wrapper {
  position: absolute;
  left: -9999px;
  width: 1px;
  height: 1px;
  overflow: hidden;
}

.honeypot-wrapper input {
  position: absolute;
  left: -9999px;
}
You’re positioning it off-screen AND making it tiny AND hiding overflow. A bot would need to check multiple properties to identify this pattern.
JavaScript-Based Honeypots
CSS hiding works, but JavaScript opens up more sophisticated detection methods.
Dynamic Field Generation
Create the honeypot after page load so bots parsing static HTML won’t see it:
// Add honeypot after DOM is ready
document.addEventListener('DOMContentLoaded', () => {
  const form = document.querySelector('form');
  const honeypot = document.createElement('input');

  honeypot.type = 'text';
  honeypot.name = 'phone_confirm';
  honeypot.tabIndex = -1;
  honeypot.autocomplete = 'off';
  honeypot.style.cssText = 'position: absolute; left: -9999px;';

  form?.appendChild(honeypot);
});
Bots that don’t execute JavaScript will never see this field. They’ll submit without it, and you can reject submissions missing the field entirely.
Randomized Field Names
Static field names like “website” or “phone” are easy for bot operators to blacklist. Randomize them:
function generateHoneypotName(): string {
  const prefixes = ['user', 'contact', 'info', 'form'];
  const suffixes = ['data', 'field', 'input', 'value'];
  const prefix = prefixes[Math.floor(Math.random() * prefixes.length)];
  const suffix = suffixes[Math.floor(Math.random() * suffixes.length)];
  const random = Math.random().toString(36).substring(2, 6);

  return `${prefix}_${random}_${suffix}`;
}
Store the generated name in a hidden field or session so your server knows what to check for.
Timing Analysis
This isn’t technically a honeypot, but it pairs perfectly with one. Track how long users spend on the form:
const formLoadTime = Date.now();

form.addEventListener('submit', (e) => {
  const timeSpent = Date.now() - formLoadTime;

  // Add timing to form data
  const timingField = document.createElement('input');
  timingField.type = 'hidden';
  timingField.name = 'form_timing';
  timingField.value = timeSpent.toString();
  form.appendChild(timingField);
});
On the server, reject submissions that happened faster than humanly possible. A 10-field form submitted in 500ms? That’s a bot. Real humans need at least a few seconds to read and fill out fields.
React/Next.js Implementation
Let’s put this together in a real React component with React Hook Form:
// components/contact-form.tsx
'use client';

import { useState, useRef, useEffect } from 'react';
import { useForm } from 'react-hook-form';

interface FormData {
  name: string;
  email: string;
  message: string;
  // Honeypot fields - not shown to users
  website?: string;
  phone_confirm?: string;
}

interface FormMetadata {
  formLoadedAt: number;
  honeypotName: string;
}

export function ContactForm() {
  const { register, handleSubmit, formState: { isSubmitting } } = useForm<FormData>();
  const [status, setStatus] = useState<'idle' | 'success' | 'error'>('idle');
  const formLoadedAt = useRef<number>(Date.now());
  const [honeypotName, setHoneypotName] = useState<string>('website');

  // Generate random honeypot name on mount
  useEffect(() => {
    const names = ['company', 'fax', 'phone2', 'website', 'url', 'address2'];
    setHoneypotName(names[Math.floor(Math.random() * names.length)]);
  }, []);

  async function onSubmit(data: FormData) {
    const timeOnPage = Date.now() - formLoadedAt.current;

    // Client-side honeypot check - return fake success
    if (data.website || data.phone_confirm) {
      await new Promise(resolve => setTimeout(resolve, 1000)); // Fake delay
      setStatus('success');
      return;
    }

    // Too fast? Probably a bot
    if (timeOnPage < 3000) {
      await new Promise(resolve => setTimeout(resolve, 1000));
      setStatus('success');
      return;
    }

    try {
      const response = await fetch('/api/contact', {
        method: 'POST',
        headers: { 'Content-Type': 'application/json' },
        body: JSON.stringify({
          ...data,
          metadata: {
            formLoadedAt: formLoadedAt.current,
            submittedAt: Date.now(),
            honeypotName,
          },
        }),
      });

      setStatus(response.ok ? 'success' : 'error');
    } catch {
      setStatus('error');
    }
  }

  return (
    <form onSubmit={handleSubmit(onSubmit)} className="space-y-4">
      <div>
        <label htmlFor="name" className="block text-sm font-medium">
          Name
        </label>
        <input
          id="name"
          {...register('name', { required: true })}
          className="w-full border rounded px-3 py-2"
        />
      </div>

      <div>
        <label htmlFor="email" className="block text-sm font-medium">
          Email
        </label>
        <input
          id="email"
          type="email"
          {...register('email', { required: true })}
          className="w-full border rounded px-3 py-2"
        />
      </div>

      <div>
        <label htmlFor="message" className="block text-sm font-medium">
          Message
        </label>
        <textarea
          id="message"
          {...register('message', { required: true })}
          rows={5}
          className="w-full border rounded px-3 py-2"
        />
      </div>

      {/* Honeypot #1 - CSS hidden */}
      <div
        className="absolute -left-[9999px] w-px h-px overflow-hidden"
        aria-hidden="true"
      >
        <label htmlFor="website">
          Leave this empty
        </label>
        <input
          id="website"
          {...register('website')}
          tabIndex={-1}
          autoComplete="off"
        />
      </div>

      {/* Honeypot #2 - Dynamically named */}
      <div
        style={{
          position: 'absolute',
          left: '-9999px',
          width: '1px',
          height: '1px',
          overflow: 'hidden',
        }}
        aria-hidden="true"
      >
        <label htmlFor="phone_confirm">
          Please leave blank
        </label>
        <input
          id="phone_confirm"
          {...register('phone_confirm')}
          tabIndex={-1}
          autoComplete="off"
        />
      </div>

      <button
        type="submit"
        disabled={isSubmitting}
        className="bg-green-600 text-white px-4 py-2 rounded hover:bg-green-700 disabled:opacity-50"
      >
        {isSubmitting ? 'Sending...' : 'Send Message'}
      </button>

      {status === 'success' && (
        <p className="text-green-600">Thank you! We'll be in touch soon.</p>
      )}
      {status === 'error' && (
        <p className="text-red-600">Something went wrong. Please try again.</p>
      )}
    </form>
  );
}
And the corresponding API route:
// app/api/contact/route.ts
import { NextRequest, NextResponse } from 'next/server';

interface ContactPayload {
  name: string;
  email: string;
  message: string;
  website?: string;
  phone_confirm?: string;
  metadata: {
    formLoadedAt: number;
    submittedAt: number;
    honeypotName: string;
  };
}

const MIN_FORM_TIME_MS = 3000; // 3 seconds minimum
const MAX_FORM_TIME_MS = 1800000; // 30 minutes maximum

export async function POST(request: NextRequest) {
  try {
    const data: ContactPayload = await request.json();

    // Check honeypot fields
    if (data.website || data.phone_confirm) {
      // Return fake success - don't reveal detection
      return NextResponse.json({ success: true });
    }

    // Check timing
    const timeOnForm = data.metadata.submittedAt - data.metadata.formLoadedAt;

    if (timeOnForm < MIN_FORM_TIME_MS) {
      // Too fast - likely a bot
      return NextResponse.json({ success: true });
    }

    if (timeOnForm > MAX_FORM_TIME_MS) {
      // Form was open too long - could be a replay attack
      // Or just a user who left a tab open. Handle as you see fit.
    }

    // All checks passed - process the submission
    console.log('Legitimate submission:', {
      name: data.name,
      email: data.email,
      message: data.message,
      timeOnForm: `${(timeOnForm / 1000).toFixed(1)}s`,
    });

    // Send email, save to database, etc.

    return NextResponse.json({ success: true });
  } catch (error) {
    console.error('Contact form error:', error);
    return NextResponse.json(
      { error: 'Server error' },
      { status: 500 }
    );
  }
}
Accessibility Considerations
Here’s where a lot of honeypot implementations go wrong. Screen readers and assistive technologies don’t see your page the way sighted users do. If you’re not careful, you’ll block legitimate users.
The Screen Reader Problem
Screen readers announce form fields to users. If your honeypot is visually hidden but still in the accessibility tree, a screen reader user might hear it, try to fill it out, and get blocked.
The fix is aria-hidden="true":
<div aria-hidden="true" class="honeypot">
  <label for="fax">Fax (leave blank)</label>
  <input type="text" id="fax" name="fax" tabindex="-1" />
</div>
This tells screen readers to skip the entire element and its children.
The Keyboard Navigation Problem
Users who navigate with keyboards (Tab key) shouldn’t be able to focus the honeypot field. That’s what tabindex="-1" is for:
<input type="text" name="fax" tabindex="-1" />The Autofill Problem
Browser autofill and password managers might fill your honeypot if it has a recognizable name. A field named “phone” or “address” could get autofilled with legitimate user data, triggering a false positive.
Mitigation strategies:
- Use
autocomplete="off"on the field - Use obscure field names that autofill won’t recognize
- Generate random field names dynamically
Accessible Label Instructions
If for some reason your honeypot IS accessible (maybe you’re using off-screen positioning without aria-hidden), include a clear label:
<label for="confirm_email" class="sr-only">
  This field is for spam protection. Please leave it empty.
</label>
<input type="text" id="confirm_email" name="confirm_email" />
This way, if a screen reader user somehow reaches the field, they’ll know to skip it.
Why Honeypots Alone Aren’t Enough
I need to be honest with you. Everything I’ve described above works great against dumb bots. The problem is that spam has gotten smarter.
Modern bots:
- Parse CSS and skip fields with
display: noneorvisibility: hidden - Execute JavaScript using headless browsers like Puppeteer
- Analyze HTML structure to identify honeypot patterns
- Use machine learning to distinguish real fields from traps
- Employ human solvers - actual people paid to fill out forms
A bot operator only needs to figure out your honeypot implementation once. Then they update their bot to skip that specific field, and your protection is useless.
We wrote a whole post about why honeypots alone won’t stop modern spam bots. The short version: you need multiple, independent signals.
Layer Your Defenses
Honeypots should be one layer in a multi-signal approach:
- Honeypot fields - Catches unsophisticated bots (still worth doing)
- Timing analysis - Flags instant submissions
- IP intelligence - Blocks datacenter IPs and known bad actors
- Email validation - Detects disposable email addresses
- Content analysis - Identifies spammy patterns in the message
- Rate limiting - Prevents submission floods
No single signal is perfect. But when you combine them, a bot has to defeat ALL your defenses simultaneously. That’s a much harder problem.
The Silent Failure Principle
One pattern you’ll notice in all the code above: we return fake success messages when we detect spam. Never tell spammers they’ve been caught.
if (isSpam) {
  // Don't do this:
  // return { error: 'Spam detected' };

  // Do this instead:
  return { success: true };
}
If you return an error, you’re giving the bot operator feedback. They’ll tweak their bot and try again. If you return success, they think it worked and move on.
FormShield’s Approach
We built FormShield because we got tired of stitching together honeypots, email validators, IP reputation APIs, and ML models for every project.
FormShield combines all these signals in one API call. Send us the form data, and we return a spam score with a detailed breakdown of what triggered:
import { checkForm } from '@formshield/next';

export async function POST(request: NextRequest) {
  const data = await request.json();

  const result = await checkForm({
    email: data.email,
    name: data.name,
    content: data.message,
    ip: request.ip,
    metadata: {
      formLoadedAt: data.metadata.formLoadedAt,
      honeypotField: data.website, // We check this too
    },
  });

  if (result.action === 'block') {
    return NextResponse.json({ success: true }); // Silent failure
  }

  // Process legitimate submission
}
The response tells you exactly why something was flagged:
{
  "verdict": "spam",
  "score": 7.2,
  "action": "block",
  "signals": {
    "honeypot": { "filled": true },
    "timing": { "tooFast": true, "secondsOnForm": 1.2 },
    "ip": { "datacenter": true },
    "email": { "disposable": true }
  }
}
Honeypot detection is just one of many signals. When a submission fills the honeypot AND comes from a datacenter IP AND uses a disposable email AND submitted in 1.2 seconds - you can be pretty confident it’s spam.
Wrapping Up
Honeypot fields are a solid first line of defense. They’re free, invisible to users, and catch a surprising amount of spam with zero friction.
The implementation checklist:
- Hide with CSS (preferably off-screen positioning)
- Add
aria-hidden="true"for screen reader accessibility - Set
tabindex="-1"to prevent keyboard focus - Use
autocomplete="off"to prevent autofill false positives - Return fake success when honeypot triggers
- Combine with timing analysis for better detection
- Consider dynamic/randomized field names
But remember: honeypots are a speed bump, not a wall. They’ll stop the lazy bots. The sophisticated ones will sail right past.
For production applications handling real traffic, layer multiple detection methods. FormShield does this automatically, but you can build something similar yourself using the patterns from our Next.js spam protection guide.
The goal isn’t perfect detection. It’s making spam economically unfeasible while keeping your real users happy.